Saturday, 22 March 2014

Winch bumper and winch fitting.

Winches, do you need one?  No, but they do come in very handy for that moment in time when you make a mistake!!!

First off I had to decide if there was a real need for one?  Answer, NO but I did however want to have a heavy duty front bumper, there was dozens to choose from, and the costs were either too good to be true or there was a need to remortgage the farm to buy it.

I settled for a very basic bumper but decided to have a winching bumper to allow for upgrade just in case I wanted to in the future, but what a shock!!!  I found a great supplier who was willing to do me a fantastic package deal on a basic winching bumper and winch for little more than the price of a medium duty HD bumper, guess which way it went.


This was the look of the front end before I removed the original bumper and "A" bar, here it is necessary to retain a "bullbar" of sorts if it is on the papers as the consequence of removing it and it not being present at the time of test means that they will remove the right and declaration from the papers and it is gone forever!!!


 Off with the old.


And on with the new.


This was never going to be an immediate fit due to corrosion issues in the front mountings of the body but at least it gave me a sense of satisfaction knowing that the low profile bumper is what best suited my needs in the respect that I didn't want to do as many do and end up with a bumper that sticks out even further than the original and reduces approach angles even further, so for me this was a good choice.

After the corrosion issues were taken care of then I came to the full fitting with a twist.

Twist being that I needed to have a bullbar fitted or face loosing the right to have one fitted!!

I made the decision to cut the "A" bar up and make my own bull bar with a rather large hoop, the hoop is there in order for me to have a massive lighting array in the form of LED light bars, but finding them at sensible money is way harder than I thought possible at this point, I regret that I simply cannot afford to pay double what I paid for my car for a single 40" light bar!!!

But the hoop on the bumper looks like this.


Hoop welded on and sprayed black it was time to fit the winch.


The bumper has these shnazzy swivelling shackle pin recovery points on. 


Good and easy lashing point for the winch hook.


The mounting feet of the winch is recessed to take the fixing nuts and washers as shown here.


Winch in the cradle and bolted down tight, recovery points fitted and it feels like we're getting somewhere.


Now that the winch is in place and all bolted down it was the hardest part of this for me, as in, I had to actually cut up a perfectly good grille to tidy up the front.


Doesn't it look good now!


Now it is time to get the wiring sorted in a fashion that looks tidy and is very much functional.

I always try to make it look like what ever I have fitted was meant to be there from the beginning, same with the winch really, I was looking to make it as though the fitting was not a complete afterthought with untidy cables and poor routing, put a plan together in my head and get it trialled out.


Trial fitting over with and on to the main deal of getting it where it needs to go, nice grommets for the holes and secured with cable ties, although I was going to use "P" clips to secure them I was actually advised against this by a professional fitter who said that the often massive torque loading's on the cables sees them needing to flex a bit so making the cable run too rigid can be counter productive!!!


Cables run through the grommets all nice and tidy.


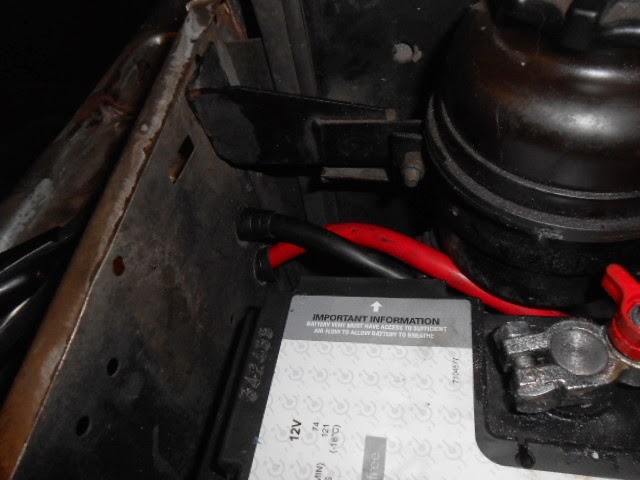
All wired up to my second battery.

I'm planning to fit a T-Max split charger in the very near future to charge the second battery and maybe a second alternator in the future.

Friday, 14 March 2014

Wheels and Tyres and swapping to 24 spline.

This one has been a real pondering point for me in the fact that I did like the original wheels that came on Rusty, they were an aftermarket Compomotive alloy wheel with a 15" rim as you can see here.


I also liked the very wide array of tyres available for the 15" rim for future fitting, but the thing with this car is it came with two almost new front tyres, General Grabber AT2 in 235/75 15 size, all I actually wanted to do was to get another 2 of these to replace the racing slicks on the back and a spare wheel to match the road wheels,  General Grabber had already replaced the AT2 with the new and improved(read as much more road biased) AT3, meaning that only certain sizes are available as old stock is used up, the size I needed was not to be found in Europe but available in America, bit prohibitive with the shipping costs so bang goes that idea.

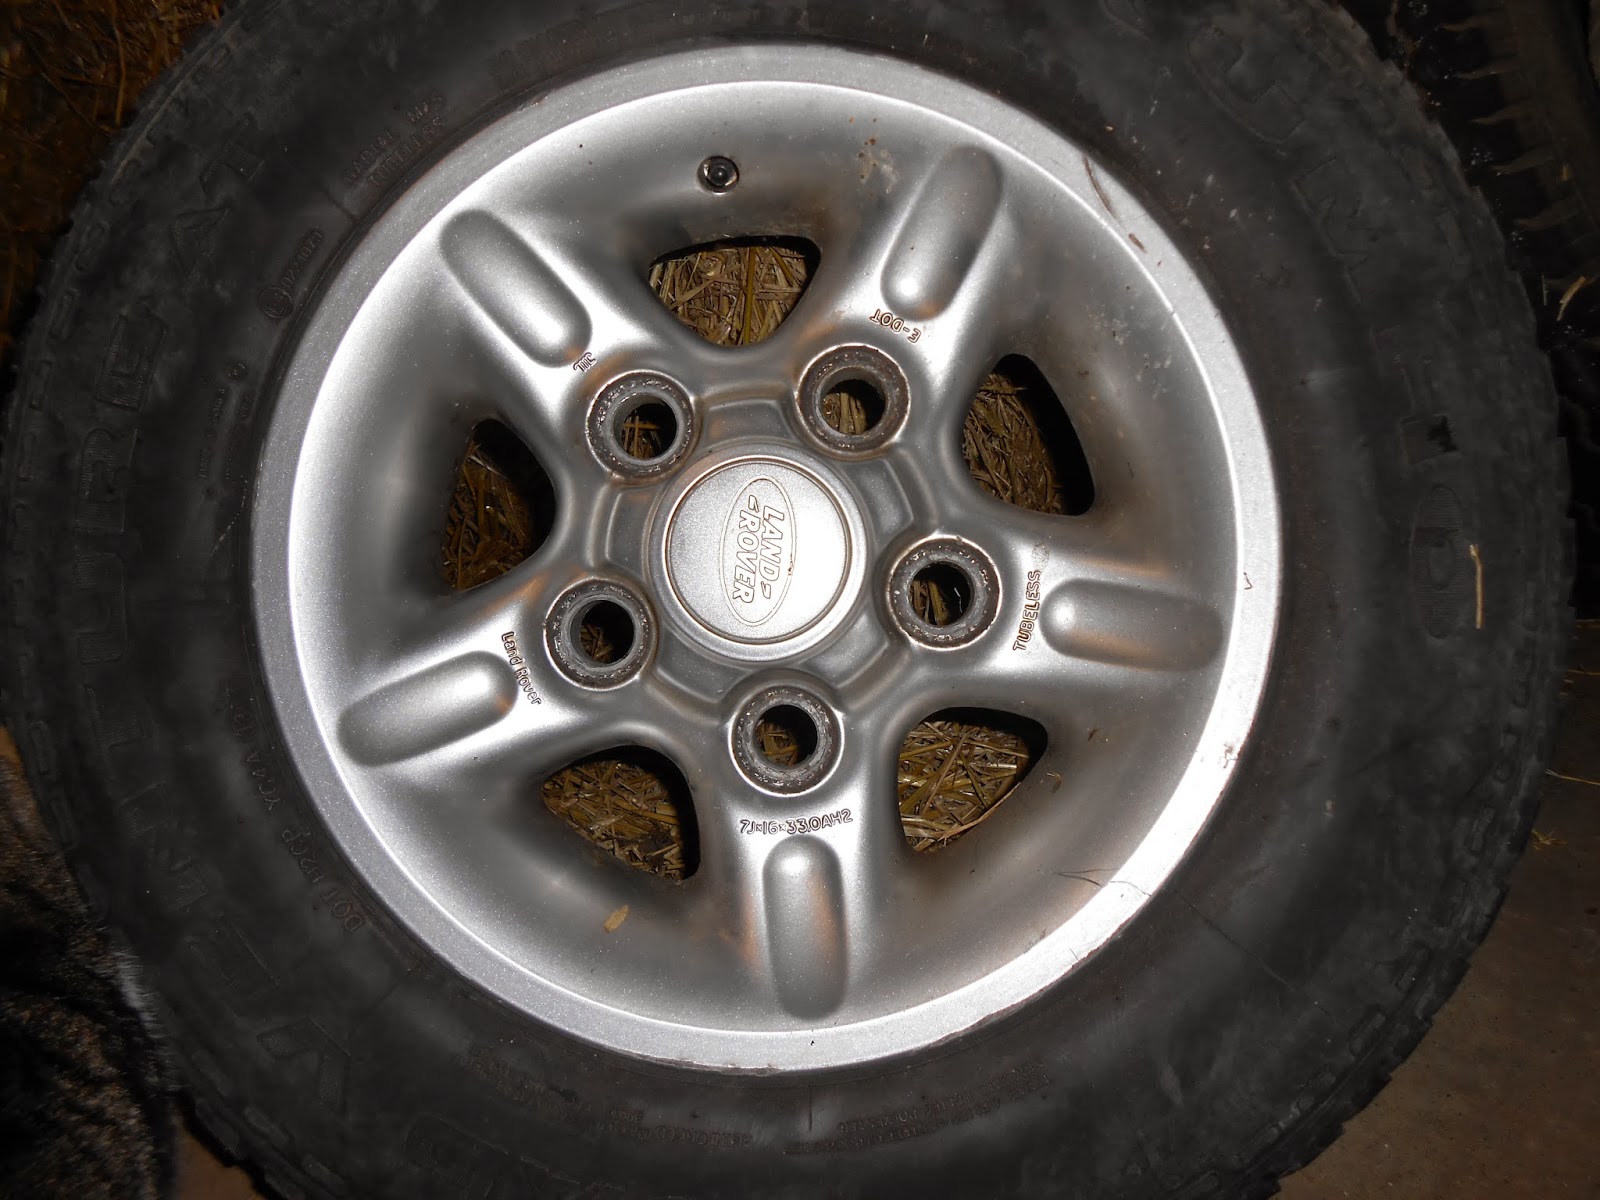
My initial reaction after that was to just take a whole set and replace them all, my only niggle being a personal one about the spare issue, the spare was still an original Discovery steel wheel in 16" rim size, so now my head is really thumping due to months of struggling and searching I was unable to find either new or second hand the correct Compomotive wheel for a spare, I searched globally and placed adds on many forums asking for 1 or a complete set to get what I wanted and after searching for almost 6months I stopped with that idea and decided to sell the Compomotives and to use a set of Land Rover Deep Dish alloys in silver that I already had sitting for sale for as long as I had been searching for a spare to match the Compomotives, so new plan hatched!!


And these are the replacement wheels and tyres against the old ones.


Little bit bigger aren't they!!!


This is where it gets interesting, or depressing, depends on your point of view I suppose?

You tend to learn a lot about things fast when you decide to make changes and upgrades, this is one of them moments when I learned something very new to me!!

Rusty is from 1992 and in that era the drive train was a 10 spline arrangement, now these wheels actually came off a 1998 Discovery and in that era, Land Rover had progressed and moved over to 24 spline with a different front half shaft and drive member arrangement, the older 10 spline hardware sees the drive member as part of the half shaft, it looks like this.


These earlier drive flanges as much thicker than the later type and this is where I had a new problem.

I either had to fit spacers to the wheels to clear the drive members or swap over to the later 24 spline hardware?

Guess what happened there then.

I already had a front and rear axle complete from the later vehicle and decided to swap in entirety the back axle.


Old one out and new one in.


And with the wheels on the back axle all done bar the brakes.


The front axle was a little bit more involving as the donor front axle was from a RHD vehicle and this is a LHD vehicle meaning the steering swivel housing would be on the wrong side if I swapped the entire front axle so I had to do a nut and bolt swap there, and there are a lot of differences between the 10 and 24 spline axles apart from the actual axle casing!

First up was the removal of the half shafts, hubs and stub axles from both sides before the differential could be removed.


The swap requires the stub axle, hub and drive flanges from the 24 spline axle or new parts if you do not have a donor, the 10 spline hubs and stubs are actually better if you intend on running wide offset rims and wide tyres as there is a wider bearing spacing to accommodate the extra side loading, I was staying within a normal tyre and rim width so found it of no consequence to have narrower bearing spacing.

Fit the differential and then the rest can be rebuilt, the only trouble I found here was that the middle 4 studs were too short as the diff housings are different, so diff back out and replace the short studs with longer ones.


I was sure to help the new studs bite into the casing prior to fitting the diff as I didn't want to be having to remove it again due to one of the studs spinning so vice grips and a couple of old nuts to the rescue.


With the differential now in I could fit the shafts and CV joints and prep to fit the stubs and hubs back on.


The finished article looked much like this.


Then came another problem, the little rubber cap that covers the half shaft securing circlip and shims is great at holding back the grease but not good for holding back EP90 oil!

Earlier 10 spline axles had oil lubricated wheel bearings and the later 24 spline had moved over to oil seals in the stub axles and greased wheel bearings, I prefer oil lubed bearings based on good past experiences and circumvented the oil seal to allow the lubrication of the wheel bearing and to ensure that the drive member and half shaft did not run dry and corrode causing premature failure.

I wound up needing these.


A heavy duty drive flange with a screw on dust cover, these required just a few wraps of PTFE tape to make them oil tight.

The last bit of the drive train upgrade was the front prop shaft, stay with tubular original or go with the solid bar type from a V8 with catalytic converters?


Solid bar type of course, the V8 prop ran a wider angle universal joint as standard, happy days and it was in better condition too!!!

All done and this is Rusty sitting up on all 4 new wheels and tyres.


Saturday, 8 March 2014

New exhaust.

When we bought Rusty he had a badly bent tail section of exhaust and it had clearly been on a long time, but I decided to just replace the whole system and be confident in the knowledge it was all new and going to last.


This is the new system going on.


Tidy, and shiny too.

Interior make over.

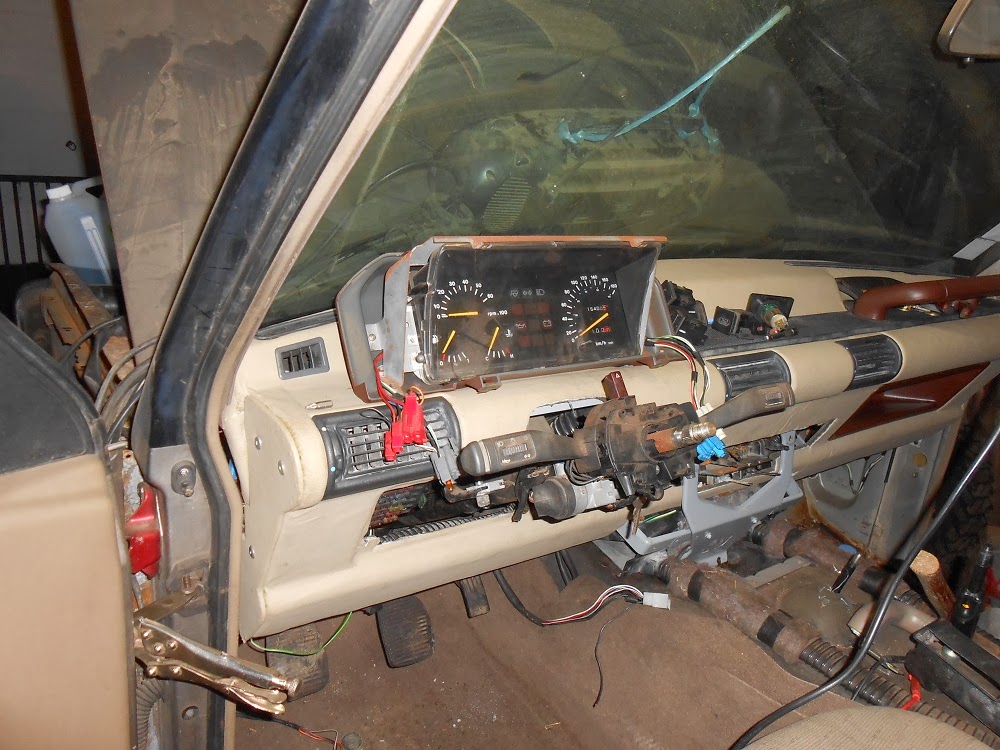
This actually took place quite a while ago but we are playing catch up, but the interior was a little bit past the sell by date and although I could have lived with the grey blue interior that he came with I was never a fan of it in the 1990s and having recently dismantled a late model V8 Discovery with a beige interior I decided that was much nicer to look at.

Problem with Discovery1s is that the biggest change in the interior is the dashboards, the later model has a much chunkier dash as it has a much improved ventilation system and a lot more electricals to hide, but I actually liked more the older model dash as it keeps the cabin lighter and more airy, the dash binnacle being very British Leyland and only a slightly modified version of the Austin Metro/Montego dash panel, but it does look good and is very much of that era.

The main issue was that the later dash does not fit, I liked the older style dash but it was in the horrid blue/grey, what to do????


I know, add a personal twist on the dash, here we go.....


Take ones tired and slightly fire damaged 200Tdi Dashboard and dunk it in the bath.


Easily seen in this picture is the extent of the fire damage and a clue as to what parts and components I have to hunt for in the near future.


Remove all trims and vents along with the steel work too as that needs washed and painted before refitting.


This stuff is awesome at removing over 20yrs of detritus and grime.


Here is that removed metal work being cleaned down.

Post scrubbing I then stripped my dash and made it naked!!!

Out with the horrid sonar blue, and bring on something fresh???


Bit of a hint here as there is a new color scheme ahead!


Take one bare foam dashboard, a roll of vinyl material, pot of contact adhesive and a hot air paint stripping gun and after about an hour you get something that looks like this.


Then start fitting all the air vents.


The metal work, after being washed down and cleaned up was painted to give a little protection as there was a lot of it that was starting to rust due to the heat of the fire and general aging where the zintec finish had gradually corroded away.


Spot the difference in the replacement air vents and the originals!


On the backs of these vents there was a thin neoprene rubber sealing gasket, these were long past their best or just plain burnt to a crisp, also, they are no longer available to buy so I got creative with some draught excluding foam you would use for windows or doors, worked a treat too.


All finished and fitted out ready to be fitted in the car.


Now, remember the hint of a new color scheme?


Wonder what it looks like fitted???


I even went as far as to use the same vinyl material to make new gear shift and hand brake gaiters too, not quite finished in this pic but this was a good trial fitting before being glued to the bases.


More to come very soon.