In the beginning you saw a fire damaged truck that was set a blaze by an incompetent welder, I am no stranger to welding and welding cars is not for the beginners, a lot of the welding is structural and needs to be of high strength and durable, I will start off this post showing what some people seem to think is passable repairs to a road going vehicle, but not I!!!
This is where the fire that ruined the wiring was started.
Seriously, look back at the inner wing repairs from the last guy!!! You can see the blob of weld there directly under the bolt, this is where the previous welder tried to tack a new plate in place and he burned right through the bulk head and set fire to the insulating foam behind, for the sake of a few minutes work to pull it away he ruined an entire vehicle!!!

These are some shots of the rest of his, erm, well, errr.......


So that rubbish all has to be cut out and repaired properly, but there are also a few other areas that need addressed too.


Started at the drivers side footwell, there was so much I had to start somewhere.


All done and repaired the door pillar base too.

Next I thought I should do the boot floor as it was bad and I had the panel in my stores as I knew it was needed!


But before I could get too carried away with fitting and welding in the new floor I had to make some repairs to the chassis as there was some unseen corrosion on the mounting for the "A" frame mounting cross member.


Start cutting and see how bad it is.

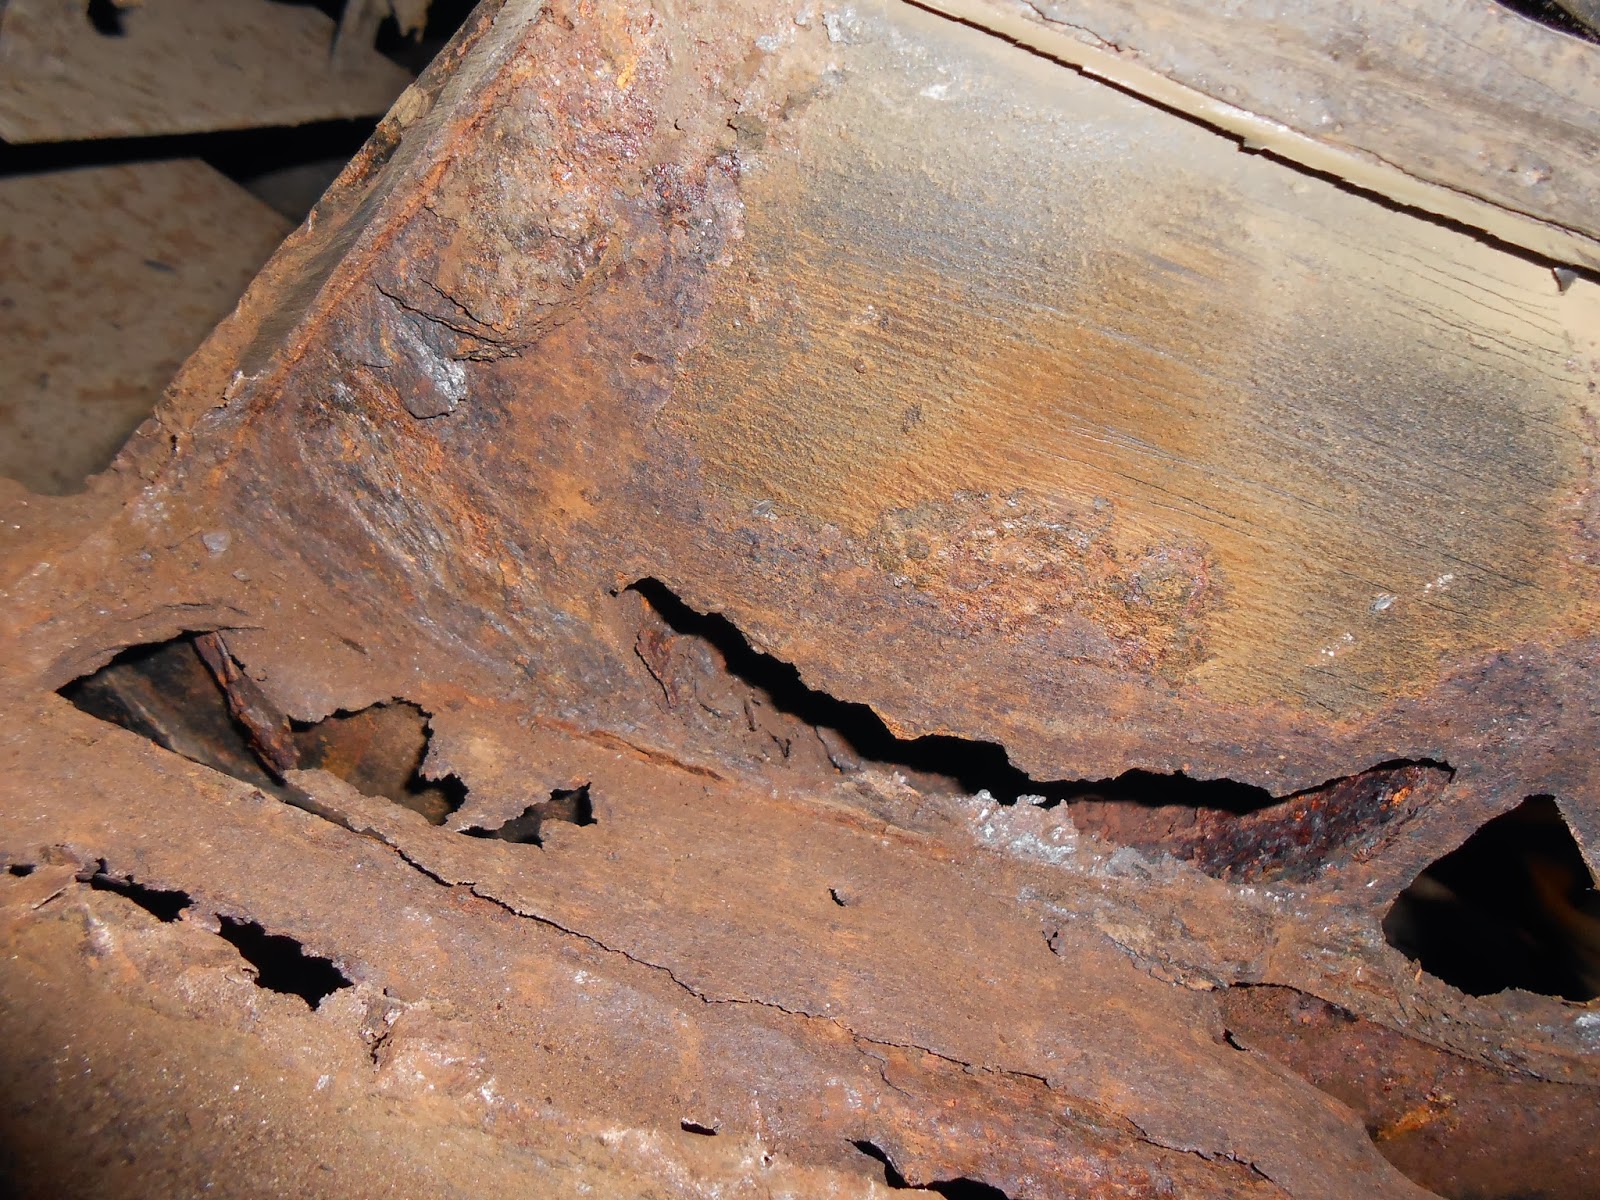

It had affected the cross member and had eaten through the tops of the chassis rails beneath where the silt and debris was able to lay and remain damp, time to cut it all out and fabricate some new metal into the chassis and return the strength. I had to cut open the floor some more to allow me the much needed access to enable proficient repairs, for me it is no big deal as I have the equipment that will enable me to make it back as good as new.


This picture demonstrates my use of a vacuum cleaner to remove rusty scale and grindings from the inside of the chassis before I begin to plate it and weld it all up again, better out than left in!!


Now the floor can be fitted and welded in to place and there is no need to go back under there again any time soon.


I was working my way round the truck to do as many of the welding repairs as I could on my way, so off with the back bumper as the rear body cross member is a known rot spot so to speak, and sure enough there was some patching to do there too, the bumper had to come off for other reasons too but that will be seen later on.


Snazzy red Hammerite No.1


Right then back to the front and time to get those rotten inner wings done so I can repair the passenger side door pillar and foot well, this was an enormous task in itself, a lot of effort and a good few hours, but for anyone attempting to patch the inner wings of a Discovery or a RRC please save your effort and a bit of cash and buy the full repair kits from a good known supplier, I used Jansen LARO spares in the Netherlands but for UK owners YRM or Froggats easy on panels are your best friends, they can and will supply most of the new repair panels you need to keep your truck on the road, I had first removed the drivers side inner wing as the body to chassis mount was very badly corroded and needed repair and then on to the inner wing itself, this is how it went with mine.


After initially starting to cut it about to see if it could be repaired with a few plates, I summed it up with, "don't be so stupid!!!"
So as Rusty and I share the same birthdays he got both full inner wing repair sets for his Birthday.


Body mount now repaired.


Here at the battery tray you can easily see the plug welds that now secure the panels together.


This picture shows the end of the side strut that I tapered off by cutting two triangular pieces out from the sides and bending the top down to form the taper.

In the picture below you can see the foot well where it was repaired using 2mm plate and fully seam welded in.

All completed and seam sealed using a building adhesive sealant, it is quite expensive but then again I will never use silicone as it tends to peel away and water and silt can get behind it and becomes trapped, then the rot begins again.
Then 2 coats of stone chip resistant paint and ready for under body schutz to be applied when all the other welding is completed.


All the cables are now routed using "P" clips and the brake pipes refitted.


Time to see how bad the other side is and get it sorted.


Time to start cutting it open and see how bad the damage is, the battery tray required a very neat repair and it actually looks seamless when done too.


In this picture you can see where the rust has eaten away into the foot well where the inner wing meets the bulk head and the lip that the inner wing is spot welded to is rusted away too so that will have to be repaired so that the new inner wing can be firmly welded in to place.
Now to make it perfect again.


Not bad, all the holes were drilled for the fixings and fittings for brake pipes, washer and coolant reservoirs then sprayed over with zinc rich spray before the 2 coats of stone chip were applied, now the door pillar.

So this is the beginning, start cutting it out piece by piece and then brace the door pillar.


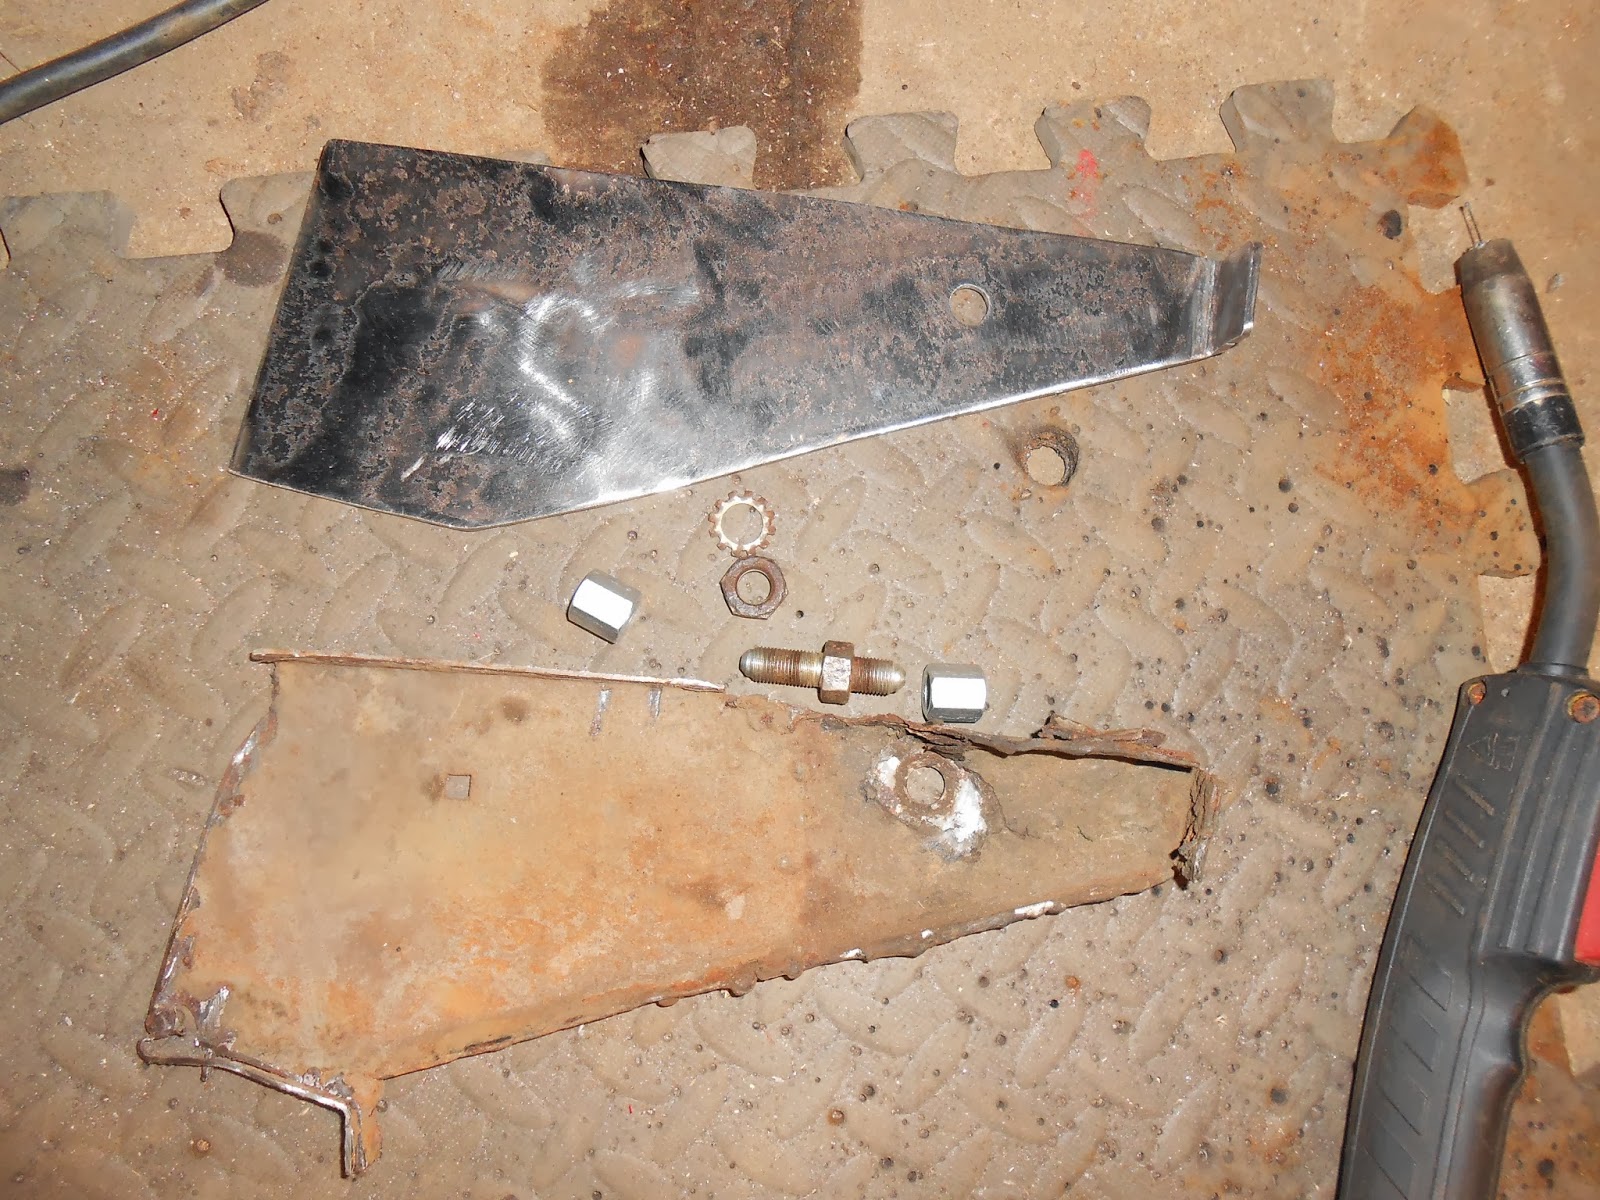
You can see a hole in a support bracket on the left side, I had a casualty here as there is a brake pipe that runs through that support, it was very badly rusted and well......

New support with the hole for the brake pipe union in it to replace badly repaired one that I cut off.
By making my door post support bracket the shape that I have I can cut right through the bottom of the door post and make the necessary repairs without it moving or flexing out of position.
And now it is time to cut it all open to see how much of a repair is needed.
You can clearly see how badly repaired the sill and door post are, they have not cut out any of the rot just plated over it, so I decided to cut back into the sill and create a sound base for the new repairs to be built up on.


Here it can be seen that the front cover of the sill has been re-made and that I have begun to cut away rotten metal from the back of the sill around the body mount.


This was rebuilt using 2mm plate and the body mount re-welded to the new plate.
The sill was boxed back in and the outside repair panel is one piece of 2mm that goes back into the sill about 15cms and then forward to the edge of the door post, this is welded to the front plate of the sill, it meets the door post and is fully welded to it, and the new door post support strut is welded on to back and the floor sections, the pictures will show it better than I can explain


This was a S/H repair section salvaged from another car, so a small amount of rot needed addressed on fitting and in the picture below you can just make out the extra strengthening support I fitted in the door post, but it does look a lot better than the work from the last welder who attacked the door post.


On to the rear sill body mount, this was shocking as it was not actually attached to anything and it was little more than a pile of rust and bushes when I undid the bolt, chop chop chop and weld in the new one.
I cheated a little here as can be seen the bottom of the wheel arch is very close and makes it hard to make a good repair, simple, cut the bottom off, weld in the body mount and weld the bottom of the wheel arch back on, where there is a will there is a way forward, even if it means side ways thinking.


I cannot find the last pictures from the floor area above the mount but it and the arch were repaired in a similar fashion using skill and new metal.
I wanted to thank you for this great read!! I definitely enjoying every little bit of it I have you bookmarked to check out new stuff you post.
ReplyDeleteRust Repair Company NH
Excellent and with good pictures thanks
ReplyDeleteAwesome! No words. You always go one step beyond.
ReplyDeleteThere is so much great, useful information here. Thank you! Thank you! Thank you!
Read our guide if you wish.
besttoolsbrand
Thanks again :)