Rear shocks tonight as short on time for the fronts.
Shunt back and forth until CDL is in and lamp is illuminated and then chock front wheels and apply H/brake and leave in gear with the keys removed.
Then crack off all ten of the wheel nuts.

Once all nuts are cracked off, jack up the axle and rest on axle stands.

Ooohh!!! Rusty.......
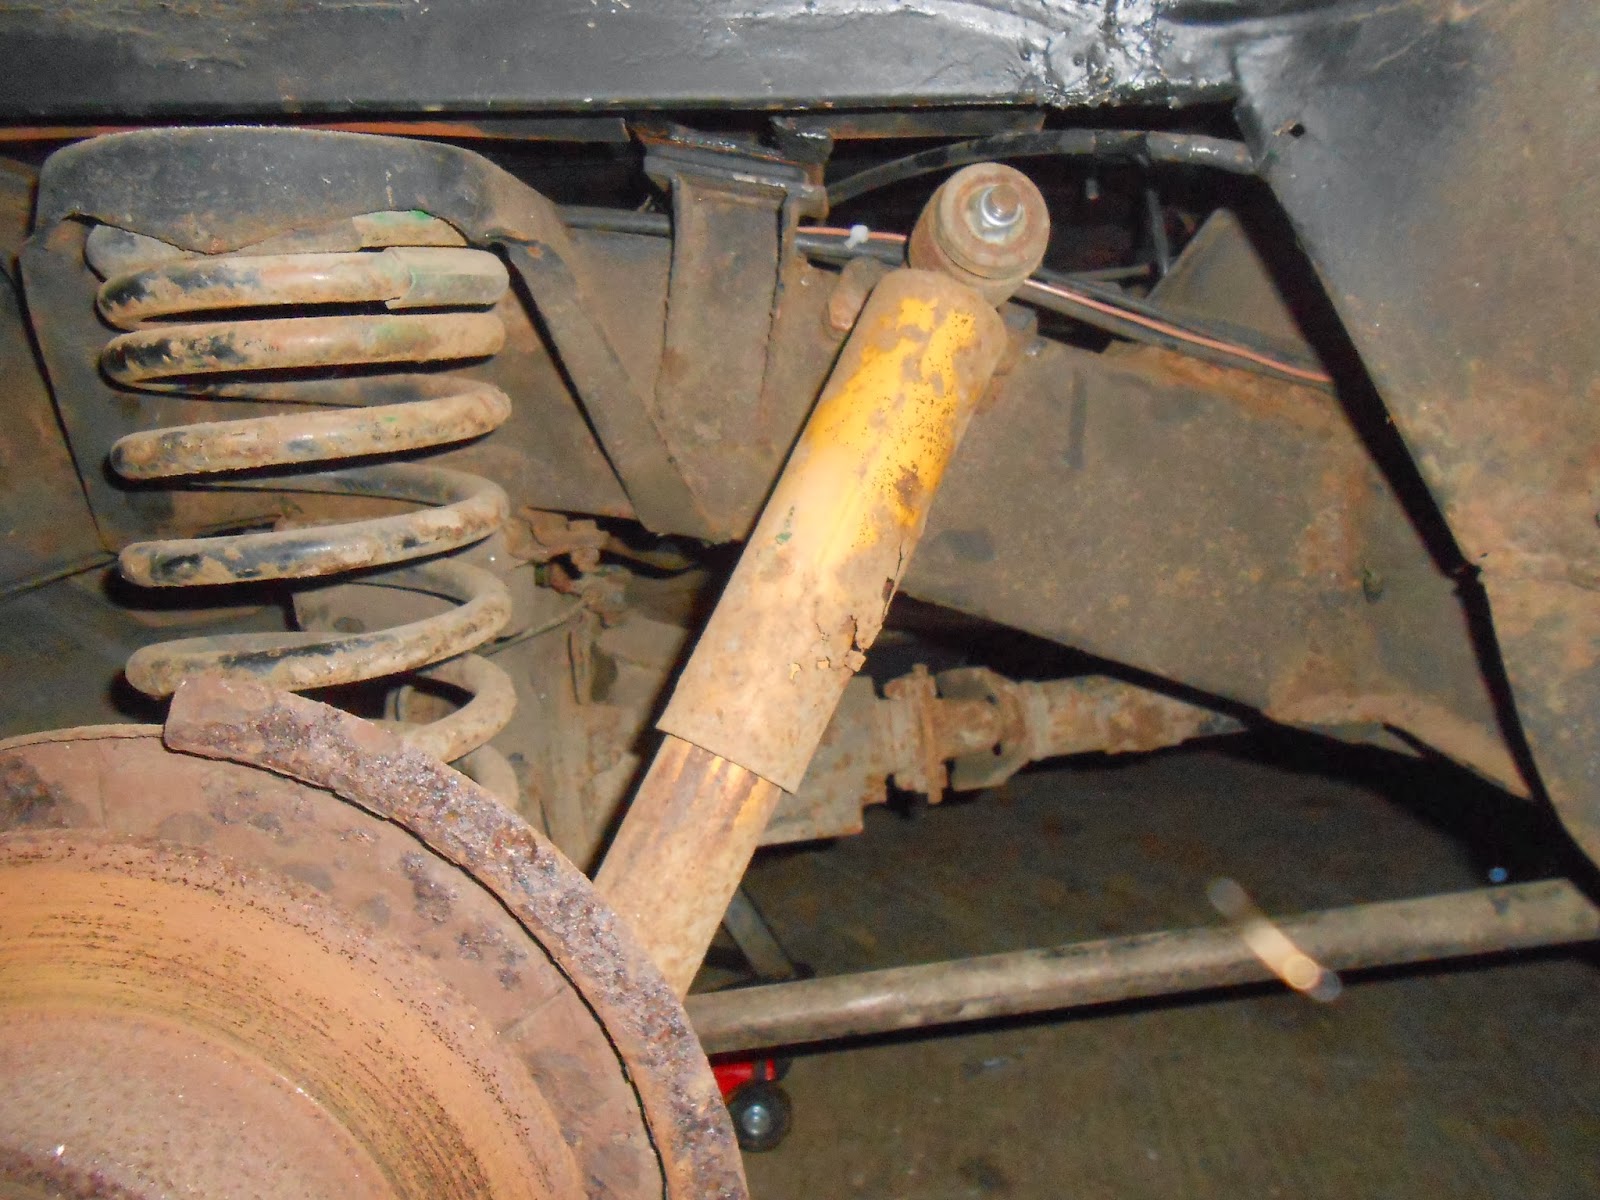
Now the rear shocks on a Discovery 1(the same as a RRC/90-110-130) are a top eye and lower pin configuration, so getting the old one off requires the 19mm nyloc nut and domed washer to be removed, and good luck chuck with the lower pin on an age old shock, just get Mr. Angry out and buzz it off in seconds :) if you think you may want to keep them as spares then you need to be a soaking the nuts in penetrative spray for a week!!!


I fitted a later 1998 24 spline rear axle to my truck and it has these funny little bushing cups, think I gonna name them the "bush bra" :lol:
I bought a full truck set of Terrafirma Prosport shocks, yeah, yeah, heard it all before, and I have nothing to loose with the deal I have with my supplier, better than OE guarantee wise

Before fitting it is best practice to extend and close the shocks three or four times before putting them on the truck.

Be sure to wipe some copper slip on the shock bracket and inside the steel insert of the bush, it stops corrosion and makes future dis-assembly much easier, then secure with the domed steel washer and a new nyloc nut.


Remember the "Bush bra" from earlier? Well, normally you had two washers in the new bushings kit with the shocks, these went between the bushes and the axle mount, but the "bush bra" does away with the need for these washers and you only need the top retainer and the outer/lower bush retainer and with the 22mm nyloc on you just need to wind them up tight.

And that is the rear shocks fitted and replaced.
The front shocks can require a lot more effort as the shock runs in the center of the spring, all will be revealed.
The front shocks although not past their sell by date are also being changed to give me a balanced performance of my suspension, new shocks all round should equal predictable ride and handling I hope.
I have illustrated here the procedure for changing these shocks as a double up on changing front springs also as you do not need to remove the spring if you are only changing the shock!! This will become clear later on.
This is how it went.
Hand brake on and CDL locked with rear wheels chocked you need to jack the vehicle up high enough to allow the axle to gain full "droop", I placed my 2T axle stands under the chassis rails behind the radius arm mount, I also went as far as to put some support blocks under the front chassis cross member before letting it down.
Remove road wheels and it is game on!

At the top of the shock turret the shock is secured with a nyloc nut and a bush on the top with some washers.

And exactly the same at the bottom.

Be sure to use a good penetrative spray on the lower nuts a few days before you plan to do this and a small wire brush helps loosen and remove scale and rust, on the front axle there is no room to get the grinder in and you have few options available to actually remove the shock, one is a hydraulic nut splitter, I have [url=http://aird-tools.co.uk/shop/draper-22mm-capacity-piece-splitter-55108-p-7200.html?osCsid=d33352e8541bd9a58703ef9bfa7f3306]these[/url] and they are great!!! Or you need oxy/acetylene to cut the nut off, I shy away from flames when rubber bushes are involved, the acrid smoke has been classed as a carcinogenic substance and has been linked to cancer so be aware!!
First slide your trolley jack under the radius arm and support the axles weight and then undoing the nut on the top is easy, you have good access to the top of the shock where there are two flats on the end to enable you to get a spanner on there to help, it comes apart looking like this.

The bottom requires the use of either a set of stilsons or a chain wrench similar to what you might use on oil filters.

Now, with the nuts removed you may find you need to remove your brake caliper at this point, but you will only know for sure as you slowly lower the axle down on the jack until it is resting on the bushes. Now comes the dangerous part!! I have used spring compressors a lot and needed my set here to persuade the spring to compress enough to let the shock out.

Once compressed the spring can be tilted out and removed if necessary or just the shock slid out the middle.

This picture shows the shock turret has also been removed.

And this is the spring seat and the lower shock mounting point.

Here I have refitted the spring as to show that if you are only changing the shocks then the springs need not be disturbed and simply removing the turret from above will allow the shock to be extracted and a new item fitted and relatively quickly too!

Be sure to prime the new shock by compressing it at least 3 times and then it is ready to fit, the bushes are the same top and bottom and are assembled just so too.


You can just see my trolley jack as it is now lifting the axle and supporting it as I position the shock to slide into the turret as I inch it up on the jack.

Then it is a case of tightening down the turret and then the top and bottom shock mounts and another job done, the road wheels can be refitted and the vehicle can be jacked up and the axle stands and blocks can be removed. I personally like to check and re-tighten if necessary the shock mountings after 50 miles, it just gives me a warm snug feeling to know they are tight after everything has settled.

This is just how I chose to do it but different people choose different methods, I do actually plan to change the springs all round but that is to come at a later date due to not needing higher spring rates yet as the full protection package has not been installed and it would make the care a lot stiffer to drive if I were to fit them now, so spring swap will come in the future.
No comments:
Post a Comment