This actually took place quite a while ago but we are playing catch up, but the interior was a little bit past the sell by date and although I could have lived with the grey blue interior that he came with I was never a fan of it in the 1990s and having recently dismantled a late model V8 Discovery with a beige interior I decided that was much nicer to look at.
Problem with Discovery1s is that the biggest change in the interior is the dashboards, the later model has a much chunkier dash as it has a much improved ventilation system and a lot more electricals to hide, but I actually liked more the older model dash as it keeps the cabin lighter and more airy, the dash binnacle being very British Leyland and only a slightly modified version of the Austin Metro/Montego dash panel, but it does look good and is very much of that era.
The main issue was that the later dash does not fit, I liked the older style dash but it was in the horrid blue/grey, what to do????
I know, add a personal twist on the dash, here we go.....
Take ones tired and slightly fire damaged 200Tdi Dashboard and dunk it in the bath.

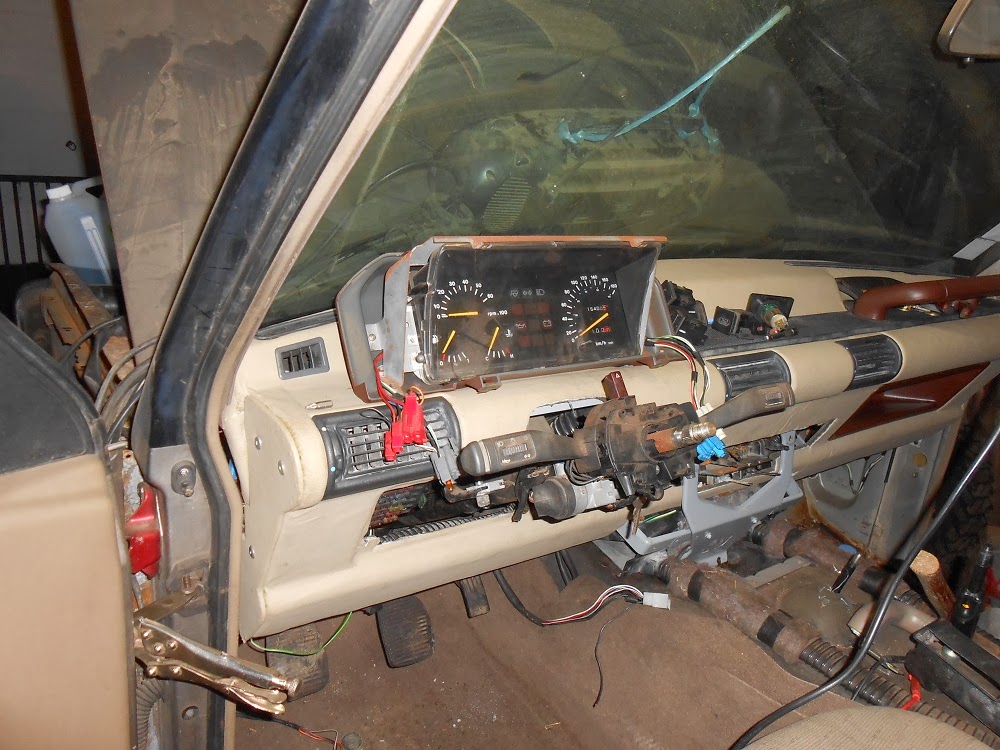
Easily seen in this picture is the extent of the fire damage and a clue as to what parts and components I have to hunt for in the near future.

Remove all trims and vents along with the steel work too as that needs washed and painted before refitting.


This stuff is awesome at removing over 20yrs of detritus and grime.

Here is that removed metal work being cleaned down.

Post scrubbing I then stripped my dash and made it naked!!!
Out with the horrid sonar blue, and bring on something fresh???

Bit of a hint here as there is a new color scheme ahead!


Take one bare foam dashboard, a roll of vinyl material, pot of contact adhesive and a hot air paint stripping gun and after about an hour you get something that looks like this.

Then start fitting all the air vents.


The metal work, after being washed down and cleaned up was painted to give a little protection as there was a lot of it that was starting to rust due to the heat of the fire and general aging where the zintec finish had gradually corroded away.

Spot the difference in the replacement air vents and the originals!

On the backs of these vents there was a thin neoprene rubber sealing gasket, these were long past their best or just plain burnt to a crisp, also, they are no longer available to buy so I got creative with some draught excluding foam you would use for windows or doors, worked a treat too.


All finished and fitted out ready to be fitted in the car.


Now, remember the hint of a new color scheme?


Wonder what it looks like fitted???


I even went as far as to use the same vinyl material to make new gear shift and hand brake gaiters too, not quite finished in this pic but this was a good trial fitting before being glued to the bases.

More to come very soon.
No comments:
Post a Comment