First off I had to decide if there was a real need for one? Answer, NO but I did however want to have a heavy duty front bumper, there was dozens to choose from, and the costs were either too good to be true or there was a need to remortgage the farm to buy it.
I settled for a very basic bumper but decided to have a winching bumper to allow for upgrade just in case I wanted to in the future, but what a shock!!! I found a great supplier who was willing to do me a fantastic package deal on a basic winching bumper and winch for little more than the price of a medium duty HD bumper, guess which way it went.
This was the look of the front end before I removed the original bumper and "A" bar, here it is necessary to retain a "bullbar" of sorts if it is on the papers as the consequence of removing it and it not being present at the time of test means that they will remove the right and declaration from the papers and it is gone forever!!!
And on with the new.
This was never going to be an immediate fit due to corrosion issues in the front mountings of the body but at least it gave me a sense of satisfaction knowing that the low profile bumper is what best suited my needs in the respect that I didn't want to do as many do and end up with a bumper that sticks out even further than the original and reduces approach angles even further, so for me this was a good choice.
After the corrosion issues were taken care of then I came to the full fitting with a twist.
Twist being that I needed to have a bullbar fitted or face loosing the right to have one fitted!!
I made the decision to cut the "A" bar up and make my own bull bar with a rather large hoop, the hoop is there in order for me to have a massive lighting array in the form of LED light bars, but finding them at sensible money is way harder than I thought possible at this point, I regret that I simply cannot afford to pay double what I paid for my car for a single 40" light bar!!!
But the hoop on the bumper looks like this.
Hoop welded on and sprayed black it was time to fit the winch.
The bumper has these shnazzy swivelling shackle pin recovery points on.
Now that the winch is in place and all bolted down it was the hardest part of this for me, as in, I had to actually cut up a perfectly good grille to tidy up the front.
Doesn't it look good now!
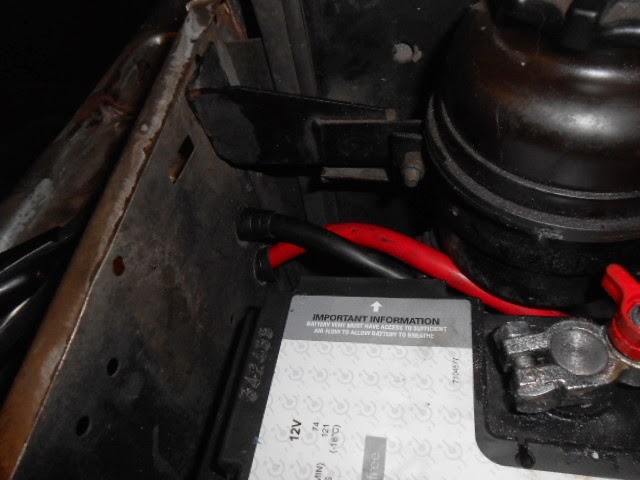
Now it is time to get the wiring sorted in a fashion that looks tidy and is very much functional.
I always try to make it look like what ever I have fitted was meant to be there from the beginning, same with the winch really, I was looking to make it as though the fitting was not a complete afterthought with untidy cables and poor routing, put a plan together in my head and get it trialled out.
Trial fitting over with and on to the main deal of getting it where it needs to go, nice grommets for the holes and secured with cable ties, although I was going to use "P" clips to secure them I was actually advised against this by a professional fitter who said that the often massive torque loading's on the cables sees them needing to flex a bit so making the cable run too rigid can be counter productive!!!
I'm planning to fit a T-Max split charger in the very near future to charge the second battery and maybe a second alternator in the future.


No comments:
Post a Comment